


Deploying in Production
In this tutorial, we will learn how to deploy a PHP application on a single server using Docker Compose.
If you’re using Symfony, prefer reading the “Deploy in production” documentation entry of the Symfony Docker project (which uses FrankenPHP).
If you’re using API Platform (which also uses FrankenPHP), refer to the deployment documentation of the framework.
# Preparing Your App
First, create a Dockerfile in the root directory of your PHP project:
FROM dunglas/frankenphp

# Be sure to replace "your-domain-name.example.com" by your domain name
ENV SERVER_NAME=your-domain-name.example.com
# If you want to disable HTTPS, use this value instead:
#ENV SERVER_NAME=:80

# Enable PHP production settings
RUN mv "$PHP_INI_DIR/php.ini-production" "$PHP_INI_DIR/php.ini"

# Copy the PHP files of your project in the public directory
COPY . /app/public
# If you use Symfony or Laravel, you need to copy the whole project instead:
#COPY . /app
Refer to “Building Custom Docker Image” for more details and options, and to learn how to customize the configuration, install PHP extensions and Caddy modules.
If your project uses Composer, be sure to include it in the Docker image and to install your depedencies.
Then, add a compose.yaml file:
services:
  php:
    image: dunglas/frankenphp
    restart: always
    ports:
      - "80:80" # HTTP
      - "443:443" # HTTPS
      - "443:443/udp" # HTTP/3
    volumes:
      - caddy_data:/data
      - caddy_config:/config

# Volumes needed for Caddy certificates and configuration
volumes:
  caddy_data:
  caddy_config:
Note
The previous examples are intended for production usage. In development, you may want to use a volume, a different PHP configuration and a different value for the
SERVER_NAMEenvironment variable.Take a look to the Symfony Docker project (which uses FrankenPHP) for a more advanced example using multi-stage images, Composer, extra PHP extensions, etc.
Finally, if you use Git, commit these files and push.
# Preparing a Server
To deploy your application in production, you need a server. In this tutorial, we will use a virtual machine provided by DigitalOcean, but any Linux server can work. If you already have a Linux server with Docker installed, you can skip straight to the next section.
Otherwise, use this affiliate link to get $200 of free credit, create an account, then click on “Create a Droplet”. Then, click on the “Marketplace” tab under the “Choose an image” section and search for the app named “Docker”. This will provision an Ubuntu server with the latest versions of Docker and Docker Compose already installed!
For test purposes, the cheapest plans will be enough. For real production usage, you’ll probably want to pick a plan in the “general purpose” section to fit your needs.
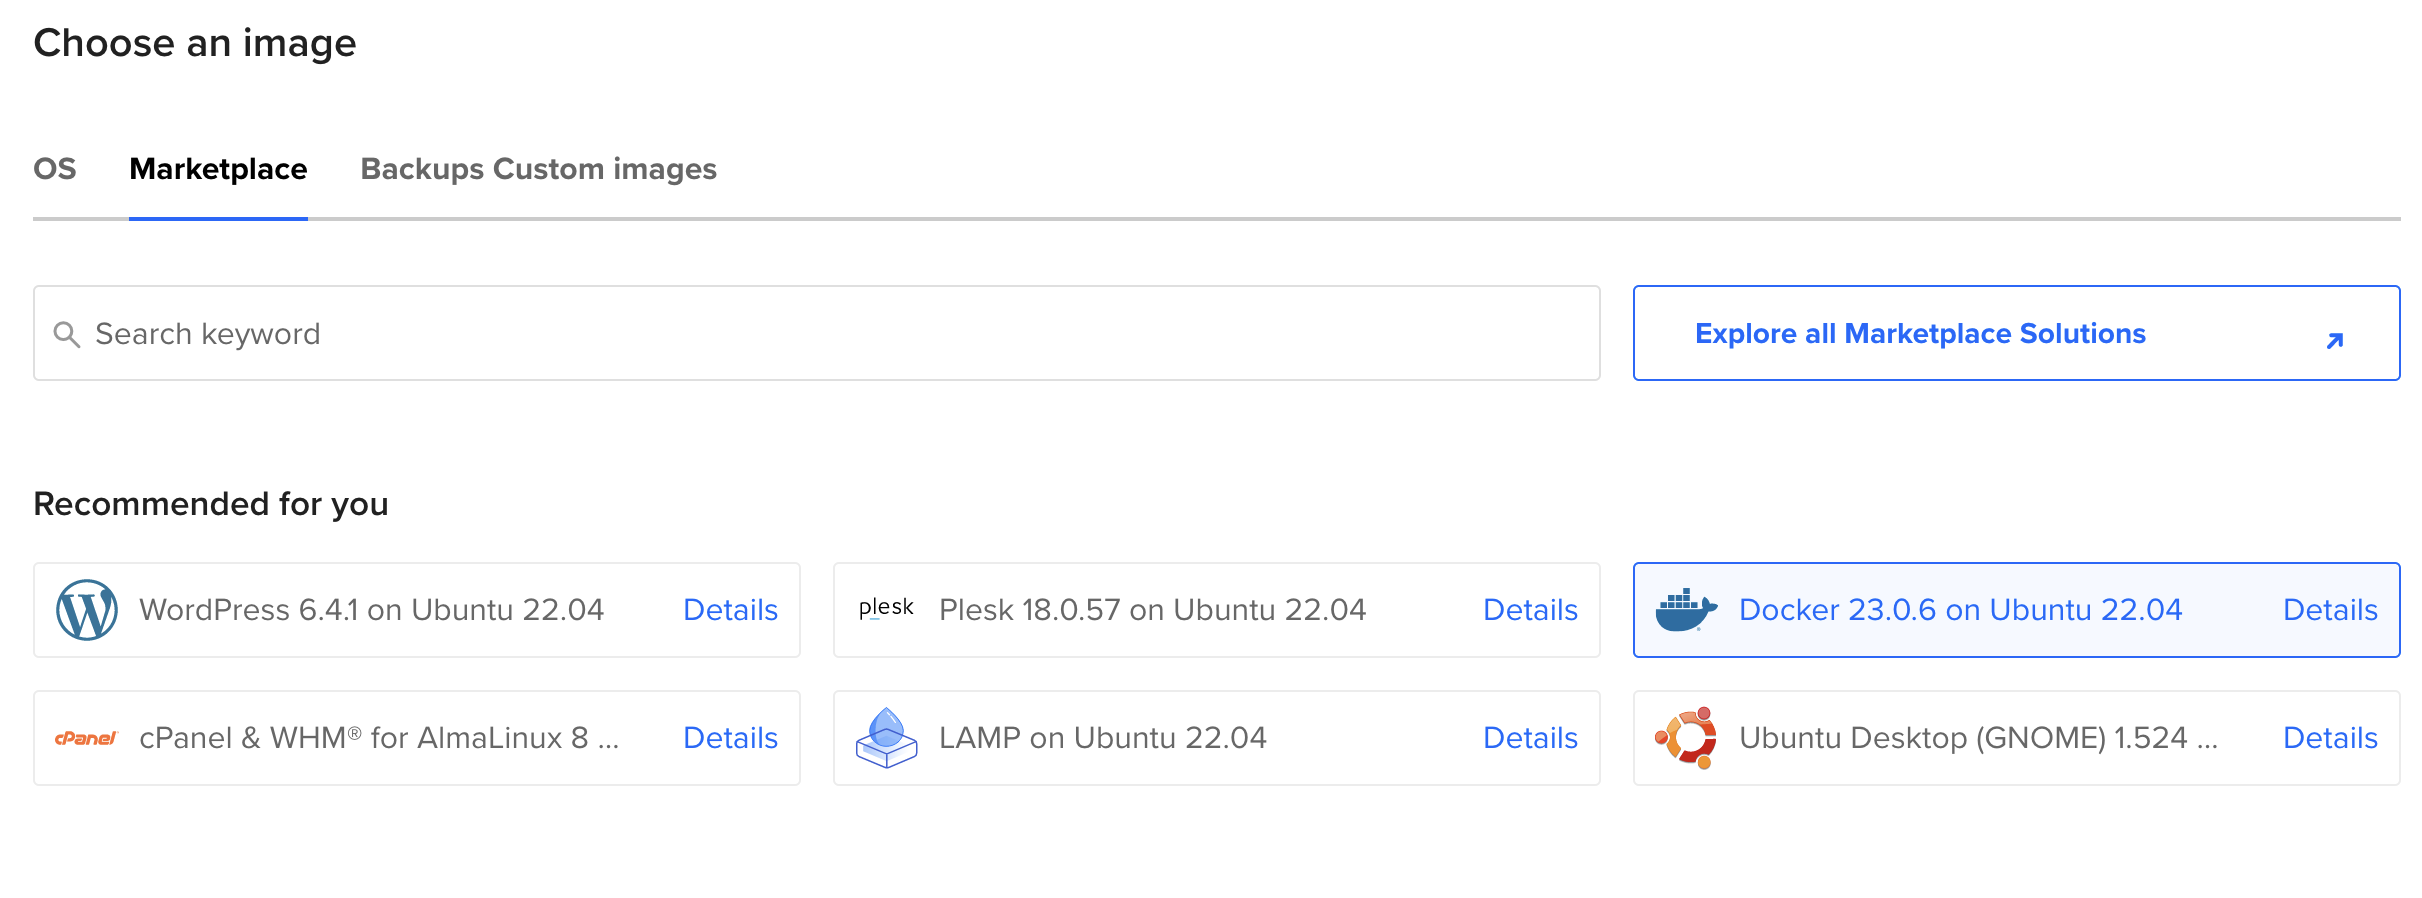
You can keep the defaults for other settings, or tweak them according to your needs. Don’t forget to add your SSH key or create a password then press the “Finalize and create” button.
Then, wait a few seconds while your Droplet is provisioning. When your Droplet is ready, use SSH to connect:
ssh root@<droplet-ip>
# Configuring a Domain Name
In most cases, you’ll want to associate a domain name with your site. If you don’t own a domain name yet, you’ll have to buy one through a registrar.
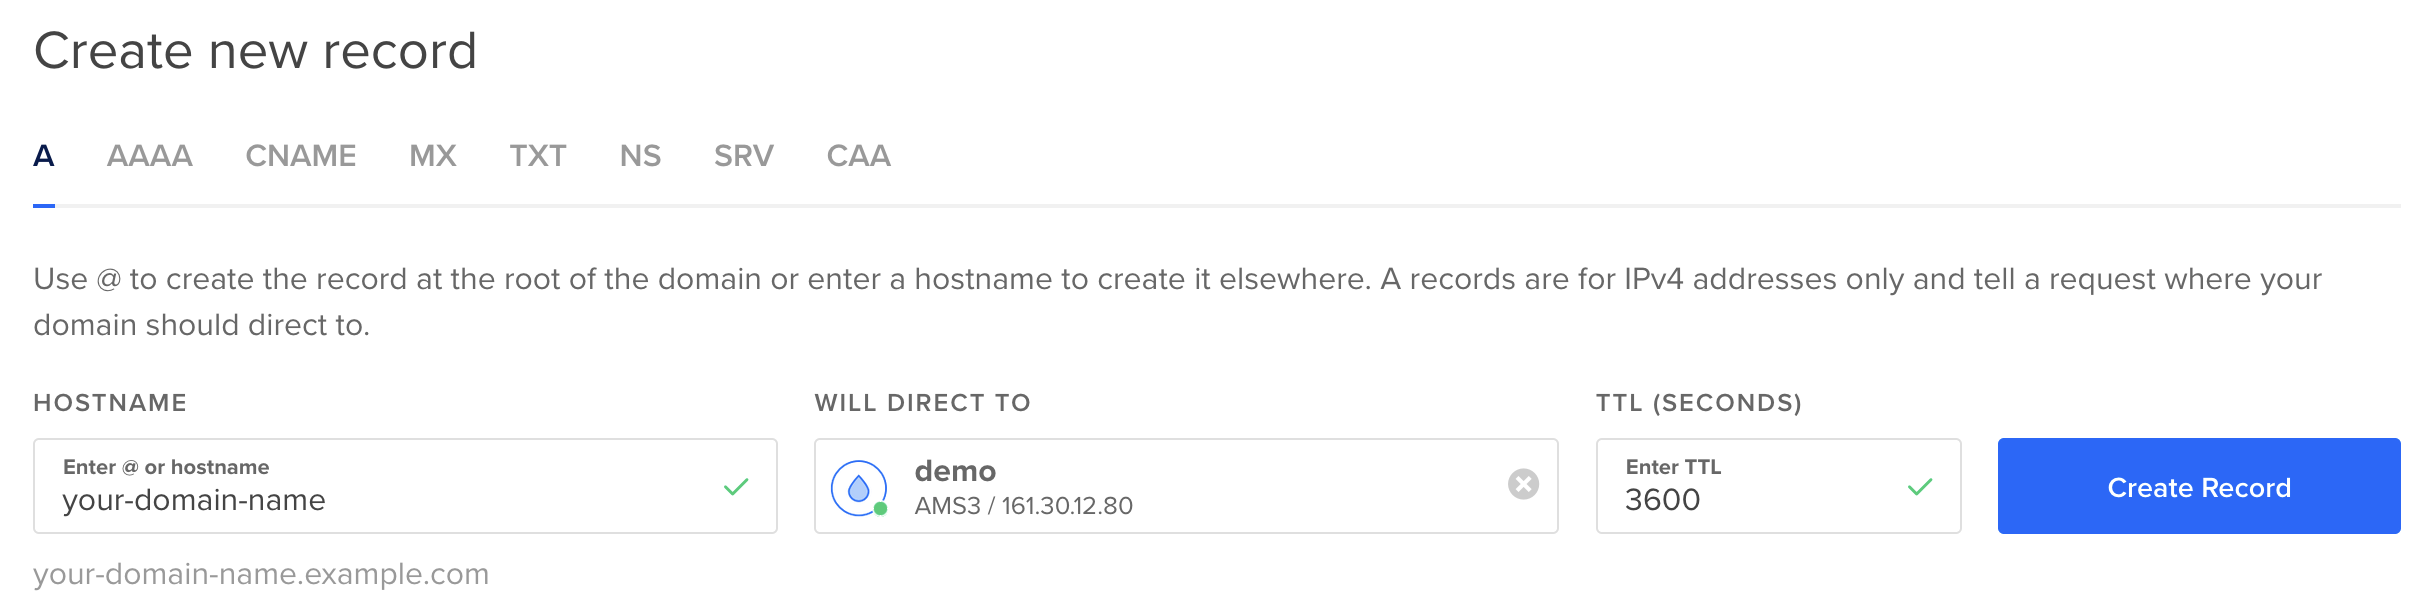
Then create a DNS record of type A for your domain name pointing to the IP address of your server:
your-domain-name.example.com. IN A 207.154.233.113
Example with the DigitalOcean Domains service (“Networking” > “Domains”):
Note
Let’s Encrypt, the service used by default by FrankenPHP to automatically generate a TLS certificate doesn’t support using bare IP addresses. Using a domain name is mandatory to use Let’s Encrypt.
# Deploying
Copy your project on the server using git clone, scp, or any other tool that may fit your need.
If you use GitHub, you may want to use a deploy key.
Deploy keys are also supported by GitLab.
Example with Git:
git clone git@github.com:<username>/<project-name>.git
Go into the directory containing your project (<project-name>), and start the app in production mode:
docker compose up -d --wait
Your server is up and running, and a HTTPS certificate has been automatically generated for you.
Go to https://your-domain-name.example.com and enjoy!
Caution
Docker can have a cache layer, make sure you have the right build for each deployment or rebuild your project with
--no-cacheoption to avoid cache issue.
# Deploying on Multiple Nodes
If you want to deploy your app on a cluster of machines, you can use Docker Swarm, which is compatible with the provided Compose files. To deploy on Kubernetes, take a look at the Helm chart provided with API Platform, which uses FrankenPHP.
Edit this page